Redesigning your uConnect platform doesn’t have to mean starting over. The most successful redesigns are intentional, phased, and aligned to specific goals—whether that’s improving engagement, simplifying content management, or reflecting a new institutional brand. Read below to learn about our most common redesign scenarios and how you tackle each on!
Live Workshop Session on Platform Redesign
Step 1: Establish Clear Redesign Goals
Before making any changes, define why you’re redesigning and what success looks like. Your goals should drive every decision you make in the platform.
Common goal examples:
We adopted a new career community model → update all Community pages.
Engagement is low on “Build Career Skills” pages → restructure main navigation to surface them.
Staff need an easier way to manage Community pages → standardize page templates.
We want more alumni mentor engagement → promote the tool across navigation, pages, and banners.
Our resources are outdated and over-tagged → audit, clean up, and standardize tags.
Our university rebranded → update logos, colors, fonts, and navigation styling.
Best practice
Document your goals in writing. These become your “north star” when deciding:
What to change
What to keep
What not to touch (yet)
Step 2: Know What You Can Edit vs. What Requires Support
A smooth redesign depends on understanding responsibilities. In general, uConnect updates your infrastructure of your platform and you can edit the contents within the existing infrastructure.
You can edit:
Page content within existing widgets
Menus (build drafts and update links)
Community names, descriptions, and images
Content categories (tags)
Email branding (headers, colors, footers)
uConnect Support must handle:
Creating new Community Groups
Widget additions, removals, or layout changes
Taking Community menus live
Platform-wide branding (logos, fonts, colors, navigation styling)
Technical configurations
Rule of thumb:
You manage content within the structure. Support manages the structure itself. Read more here!
Common Redesign Scenarios (with Tactical Steps)
1. Redesigning Career Community Models
Community pages form the structural backbone of your uConnect platform. Changes here should be deliberate.
Step-by-step approach
Create a list your current Communities
Use the Manage → Communities section.
Consider creating a spreadsheet with current vs. proposed Communities.
Map your new Community model
Compare current Communities to your desired structure.
Identify where existing Communities can be reused or renamed.
Repurpose instead of deleting
Rename Communities, update descriptions, and refresh imagery.
This preserves existing tags and content relationships.
Avoid deleting Communities
Communities also function as tags.
Deleting them removes that tag from all associated content.
Deleted Communities cannot be restored.
Request new Community Groups only if necessary
New Community Groups require a support ticket.
Avoid creating them unless your structure truly demands it.
Relink updated Communities
After renaming or updating URLs, refresh or save your main menu to relink pages.
Caution with Audience Communities:
Student, Alumni, Employer, and Staff Communities are hard-coded.
You may rename them, but you cannot delete them.
Adding new Audience Communities creates new account roles—disable sign-ups if needed.
2. Increasing Engagement Through Navigation Changes
When engagement is low, visibility is often the issue.
Tactical steps
Identify underperforming content
Pages, tools, or Communities with low traffic or engagement. Use the Analyze section of your platform for this!
Map a new navigation hierarchy
Decide what users should see first.
Prioritize high-impact pages (e.g., Career Skills, Mentorship, Events).
Build a new menu draft
Create a brand-new menu instead of editing the live one.
Rearrange items to reflect your goals.
QA before going live
Check links, labels, and user flow.
Ensure renamed Community URLs are refreshed.
Activate when ready
Toggle the new menu as your primary navigation.
3. Standardizing Community Page Templates
Template consistency improves both user experience and internal efficiency.
How to implement
Design a standard layout
Decide which widgets appear, in what order, and with what orientation.
Apply one layout per page type (e.g., all Career Communities).
Inventory existing widgets
Identify which widgets are missing, duplicated, or misplaced.
Submit widget requests (one per change)
Add widget
Move widget
Edit widget
Remove widget
Roll changes out systematically
Apply the same widget changes across all relevant pages.
Track progress using a checklist or spreadsheet.
Why one widget per ticket?
It improves accuracy, speeds turnaround, and makes troubleshooting easier..
4. Driving Traffic to Specific Career Tools
If a feature exists but isn’t being used, it needs to be surfaced repeatedly.
Tactical promotion plan
Add the tool to your main menu
Ensure it’s accessible from anywhere on the platform.
Request header or button widgets
Feature the tool visually on high-traffic pages.
Expand widget usage
Request placement on more Community pages.
Use homepage promotion
Announcement banners
Header images with calls to action
Reinforce through email
Align automated and custom emails with the same messaging.
5. Streamlining Resources and Content Tags
Content sprawl is normal—but manageable.
Step-by-step resource audit
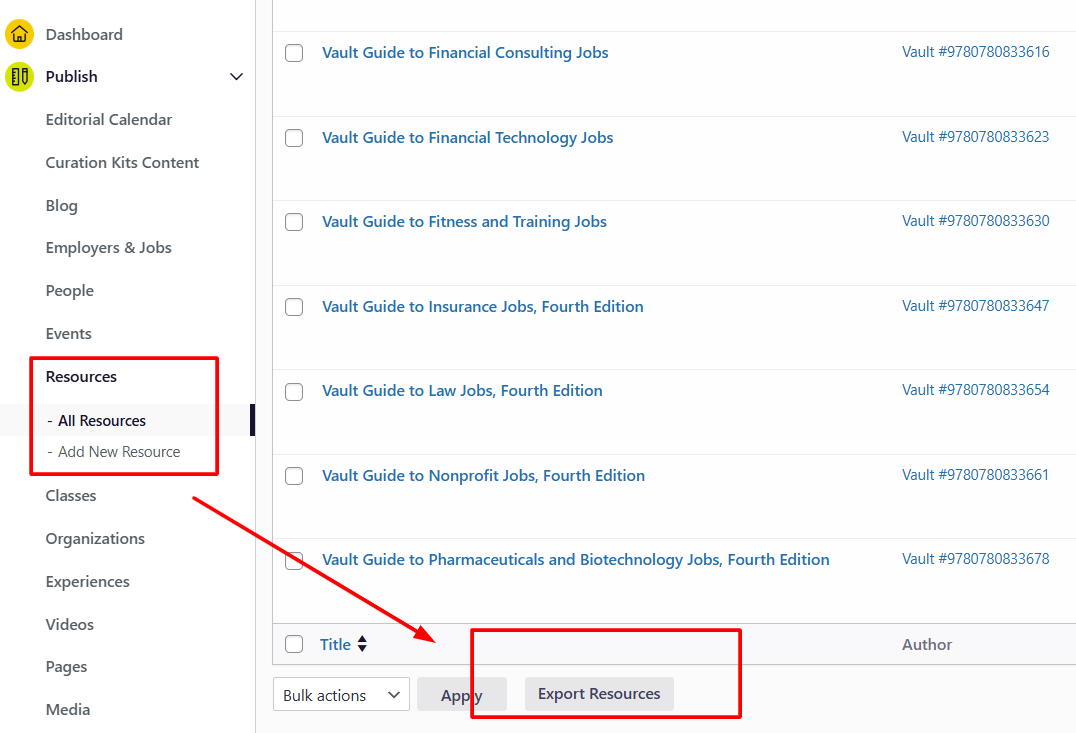
Export content to CSV
Do this per content type (Resources, Videos, Blogs, etc.).
Add tracking columns
Keep / Remove
New tags
Assigned staff member
Notes
Evaluate content
Remove outdated or redundant resources.
Consolidate where possible.
Standardize tags
Aim for fewer, broader tags (ideally under 10 per content type).
Use the “count” column to identify unused categories.
Update content categories
Rename or delete categories before retagging content.
Only delete categories you are certain you won’t reuse.
Update content in the platform
Apply new tags consistently.
Pro tip: This is a great project for student workers or shared team ownership!
6. Implementing a Full Branding Update
Branding updates affect nearly every visible element of your platform.
What you can update yourself
Email header images
Email colors and footers
Automated email design elements
What requires a branding support ticket
Platform logo
Fonts (Google or Adobe fonts)
Header space and navigation styling
Buttons and color palette
Footer styling
Best practices
Gather branding assets first
Logos, color codes, font files, brand guidelines.
Submit a single branding request
Select only the elements you need updated.
Upload all required assets.
Plan for ripple effects
Page names, Community labels, and internal references may need updating too.
Final Best Practices for Any Redesign
Start with goals, not features
Map changes outside the platform first
Repurpose instead of deleting whenever possible
Standardize layouts to reduce long-term maintenance
Use spreadsheets to manage large-scale audits
Lean on uConnect Support early for structural changes