You can edit Community pages from the Manage section of your admin dashboard. There are many aspects of your Community pages that you can edit but it is mainly infrastructure-related, meaning you can edit the overall elements and structure of these pages but you cannot publish the uConnect content types from here (i.e. Blogs, Resources, Jobs, etc.) as that all happens in the Publish section. Learn more about all of the sections of settings available to you to edit your Community pages.

Remember: the changes and edits you make to a Community page do not auto-save so always make sure to click the "Update" button in the bottom left corner of your Community page when you're editing it to save your changes.
1. The "Edit Tag" section

This is where you can edit the name or the title of the page, which you can do in the "Name" field.
Then you can also change the URL (Slug) of this page, but please note: if you edit the URL, it will likely unlink the page from wherever it may be currently linked and become a broken link. You'll have to then update the location of this Community page with the new link.
Finally, you can change the Community Group that this Community page is a part of. If you are editing a Community Group page, you won't see that option.
Reminder: Communities are categorized as a part of Community groups, such as "Build Career Skills" or "Career Communities" or "People We Serve." Within each Community group, there are sub-communities, such as within "Build Career Skills" there might be "Create a Resume" or "Prepare for an Interview." Keep this in mind as you organize your Community pages!
2. The "Page Header" Section


This next section relates to one of the ways you can add text to your Community pages and options for editing the header image.
First, you'll see a basic text editor that you can use to edit the text on this Community page. There is a second text editor powered by WordPress that we'll review below, so we recommend using this one or the one further down your page.
Next, you'll see several options to edit the text background opacity (the background color of your Community page title text), as well as the colors. Then you can edit the header Image itself and remember to keep in mind the image dimensions (Min. size: 2100×700px). You can also edit the header image alignment and the brightness.
Then, you'll see an Events Calendar Overlay section. This is how you can enable Events to display on top of your header image and you can also have these events only display if they have been tagged to the Community page you are editing, as well as specific Event Content Categories too.
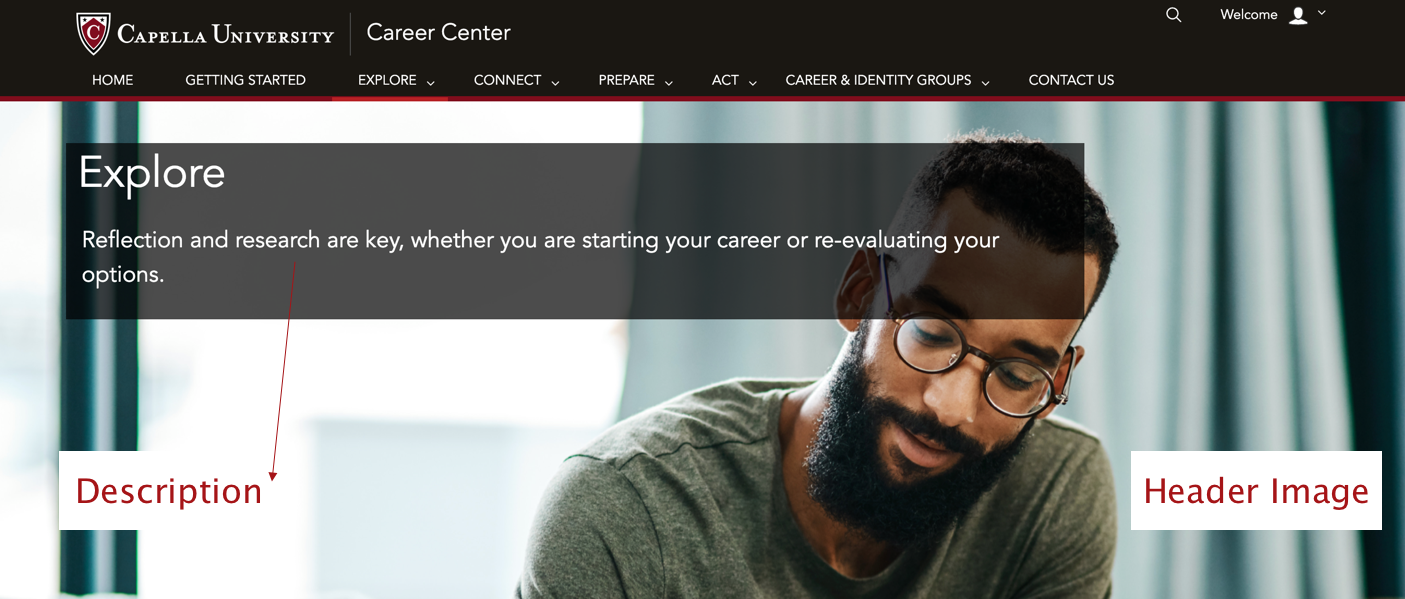
The picture below shows the header image and overlaid description from Capella University's Explore community.
You can edit both the description and header image from your admin dashboard to customize the look and content of your communities.
Set a header image:
-
Navigate to 'Communities' by going to Manage>Communities and locate the Career Community that you wish to update
-
Select 'Edit'
-
Click 'Select Image'
-
Choose an image from the media library or add a new one by selecting 'Upload Files'
Note: The minimum photo size is 1440x560px. For sizing for requirements for all images, refer to our sizing guide.
3. The "Content & Layout" Section

In this section, you can change the layout for how your Community page title and the header image should display on the front-end of the page - the side that students and other visitors will interact with.
Then you'll see the second location where you can add a description and other design elements on your Community page, under "Featured Content" and more specifically "Edit Static Content." Read below to learn more.
Right below the "Edit Static Content" button, you'll see the Dynamic Feed. This is where you can disable or change the content that displays within the feed but read this article to learn more about what the dynamic feed is and how it works.
Lastly, you can turn off the sidebar on the right side of a Community page using the "Sidebar" dropdown.
Add (or edit) a community description:
You can add text description on your Community pages in two locations:
1) Under Page Header, the "Description" text box for basic text editing
2) Under Content & Layout, the "Edit Static Content" button which allows you to access the WordPress Block Editor for more advanced content editing
Check out the video below to learn more as well as read this detailed article on specific steps to update Community page descriptions.
4. Visibility & Filters

The Visibility & Filters section is an important one as it relates to who can find this Community page and if it's an option for your Automated Email topics.
The first dropdown called "Order" allows you to actual change the order of how your Community pages are listed in your admin dashboard under Manage>Communities in case you want to give certain ones more priority.
Then, "Global Visibility" allows you to hide the Community page entirely. If hidden, this overrides all other visibility settings and also affects how SIS updates are handled (see Alerts Signup). Use this with caution. This is most helpful to use when you are still building out a Community page and you are not yet ready to take it live.
Next, the "Filters" dropdown allows you to hide this Community page from the various filters that your users can use to explore your content types. For example, if a student was exploring your Resources on your platform and you had all of your Career Communities filters set to "Visible," they'd be able to filter those resources by Career Community. The opposite would be true if you switched them all to "Hidden."

Last but not least, the "Alerts Signup" filter allows you to hide or make visible this Community pages as a topic that students or other users can sign up for in Automated Emails to receive content that you've tagged to this Community page. If hidden, this community's preferences can only be set via SIS sync or manual upload; existing values will be overwritten on the next sync or upload.
5. (If Applicable) Labor Market Insights/ Job Search Module and Outcomes Data Visualization

If you have Labor Market Insights and/or Outcomes Data Visualization enabled in your platform, these settings allow you to pre-filters the widgets to display either by Career Clusters (which are broader categories) or Pathways (which are more specific subcategories).