Overview
Uploading your student outcomes data to your VCC platform is straightforward and entirely self-serve. You can upload new data, update existing class year data, and manage your file — all from the Student Outcomes section of your admin dashboard.
Already have the ODV module? Nothing changes about your existing setup — all of your features remain exactly as they were. As a bonus, your outcomes data will now also appear in AI Search responses for students. You continue to have full access to your public-facing Outcomes page, filter dropdowns, custom chart titles and descriptions, and embedding capabilities.
Don't have ODV yet? You now have access to the upload functionality and the admin preview — a great way to get your data into the platform and see what's possible. When you're ready to take it public, reach out to your Customer Success Manager to learn about upgrading to the full ODV module.
Video Walkthrough
Need help formatting your data? We're here to help!
We understand that formatting your data to meet the NACE guidelines is daunting, so if you want some extra help getting your formatting off to a solid start, just submit a support ticket here for "Outcomes, file upload or questions" and send us your raw data. We'll put it into the correct format using these guidelines and then you'll be able to upload it when you're ready!
Step 1: Access Student Outcomes
- Log in to your uConnect admin dashboard.
- Navigate to Analyze > Student Outcomes.
- Select the Upload Data tab.
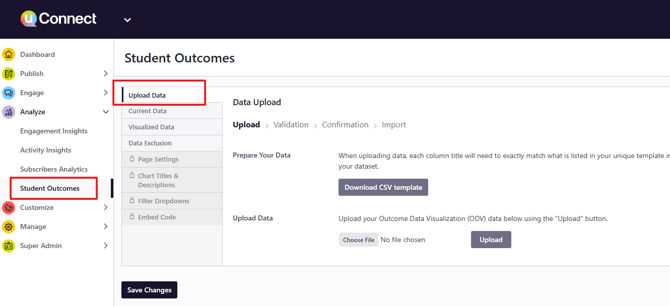
Step 3: Download Your Template and Prepare Your File
- From the Upload Data tab, click Download Template to get your institution's customized CSV template with preset column names.
- Add your data to the template, following the appropriate formatting guidelines: NACE First Destination Guidelines (undergraduate data) or MBA-CSEA Standards and Protocols (MBA/Specialty Master's data). Check out our guidelines for both below!
- Save your file as a .csv or .xlsx file.
Your file can include multiple graduation years — you do not need to submit separate files per class year.
Adding User Emails and User IDs into your Outcomes data
These fields are techncially optional but you can now include User Emails (students' institutional email addresses) and User IDs (SSO/Net ID numbers) in your Outcomes data file uploads. You could even just upload one of these data types, but User IDs tend to be more stable – email addresses might update if a student gets married and changes their name, for example.
Learn more about these data types and why we're asking for them now in this article.
|
📌 Please Note Only include one student type per file (e.g., undergraduate or graduate). If you need to upload both, please contact your Customer Success Manager about a second data set. |
Step 4: Upload Your File
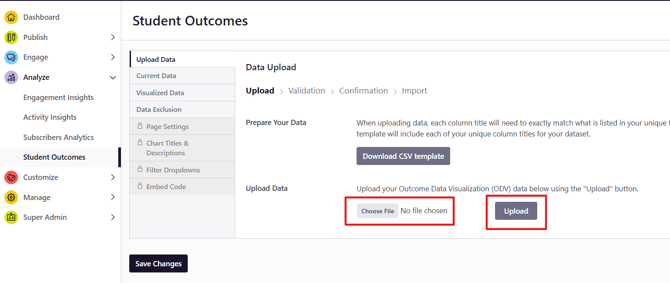
- Return to the Upload Data tab.
- Click Choose File and select your prepared CSV or Excel file.
- Click Upload to begin validation.
Step 5: Review Errors and Warnings
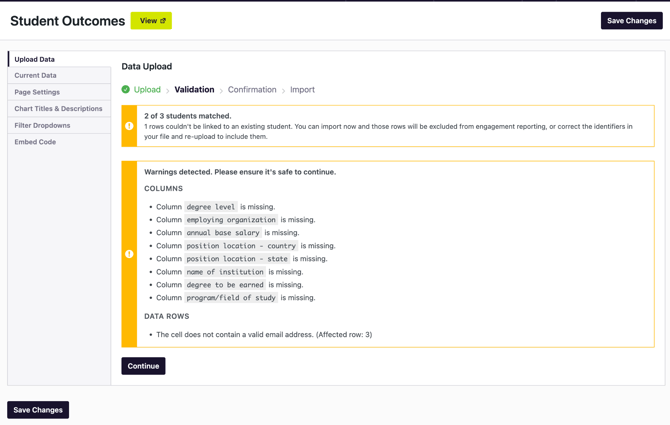
After uploading, the system will validate your file and surface any issues:
- Errors: Must be resolved before the upload can proceed. (Errors will be in red)
- Warnings: Optional to fix; they may affect how data displays but will not block the upload. (Warning will be in yellow)
Common issues to look for:
- Column headers that do not exactly match the template (e.g., extra spaces, symbols, or slight spelling variations)
- Blank cells in required columns such as Outcome Type
- Formatting inconsistencies like using & instead of / in Academic Division/School
Step 6: Finalize the Upload
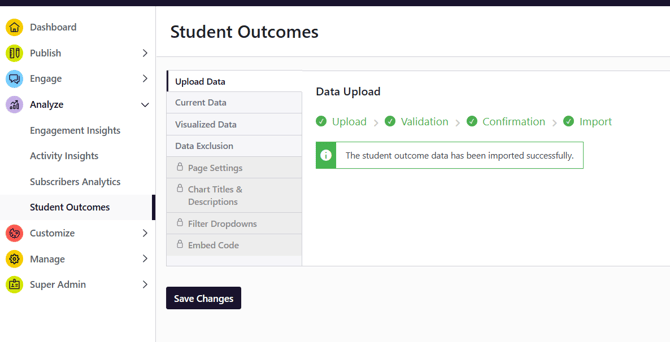
- After resolving any errors, review the validation summary.
- Click Import to finalize.
|
📌 Please Note Uploading new data for an existing class year (e.g., Class of 2023) will replace the data for that year only. Other class years will not be affected. |
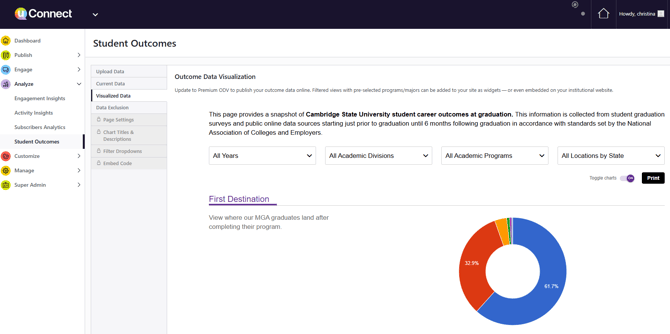
Step 7: Review Your Visualized and Current Data
- After importing, navigate to the Visualized Data tab.
- Review the charts to confirm your data is displaying as expected.
- If anything looks off, you can update your file and re-upload at any time.
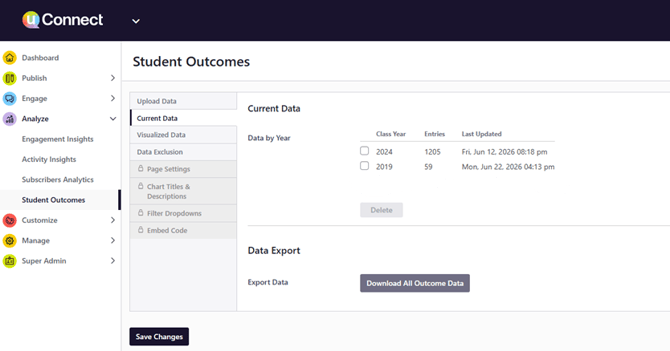
Then, moving forward, you’ll be able to review your current data. When uploading new data, we recommend reviewing what is already in your platform.
- Select the Current Data tab to view all previously uploaded class years.
- To download a full export of your existing data, click Download All Outcome Data. This creates a CSV you can use as a starting point or master file.
- To remove a specific class year, check the box next to it and click Delete.
|
💡 Pro Tip We recommend downloading your existing data as a backup before making any changes, whether you are adding new class years or replacing existing ones. |
|
📌 Please Note The Visualized Data tab is an admin-only preview. Your outcomes data is not publicly visible to students or visitors unless you have the Outcomes Data Visualization (ODV) module enabled. |