Although featured images and logos both aim to create a visually appealing user experience, learning the difference between the two allows for a more organized and engaging way to showcase resources and job opportunities to your community.
Logos are added to help platform visitors easily recognize an employer or resource. Uploaded logos should feature an organization’s official symbol/design, rather than an image associated with the company (a picture of their building, staff members, etc.). Logos appear in the top right corner of all published resources and jobs/employers.

To add a logo to a resource or employer, follow the below steps:
Navigate to the backend of your dashboard, and select “Publish”
Select “Resources,” or “Employers & Jobs,” depending on the content you’re looking to assign a logo to
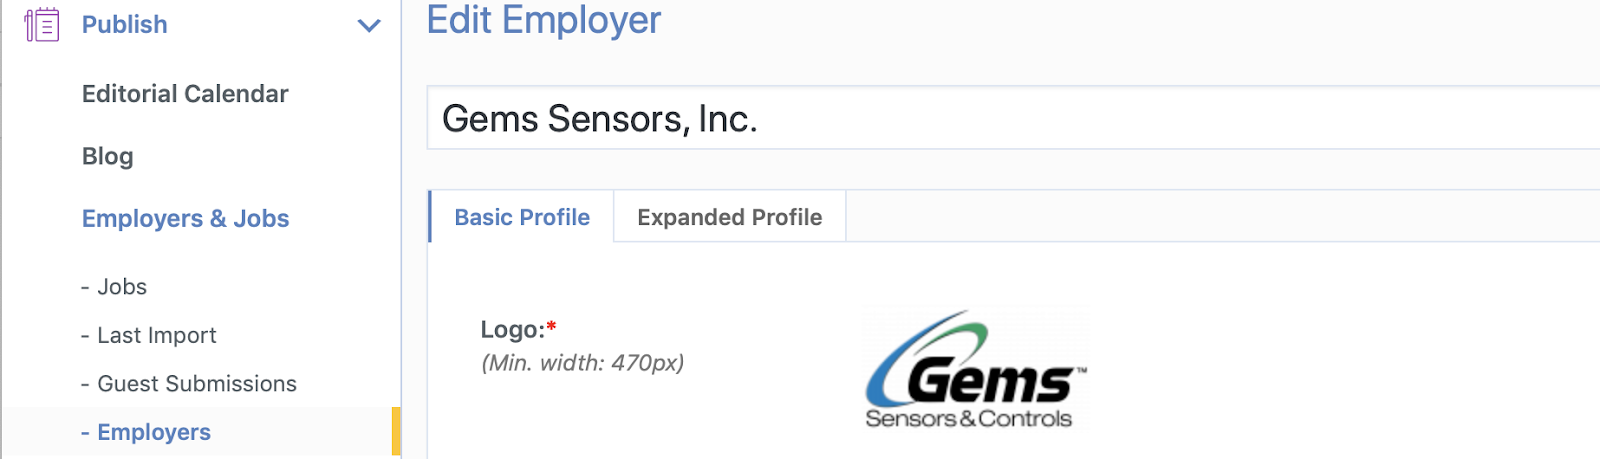
Select the specific resource or employer whose logo you’re looking to add
In the field titled “Logo,” upload the organization’s official symbol, ensuring there’s a minimum width of 470px for the image
Click the green “Update” button at the bottom of the page
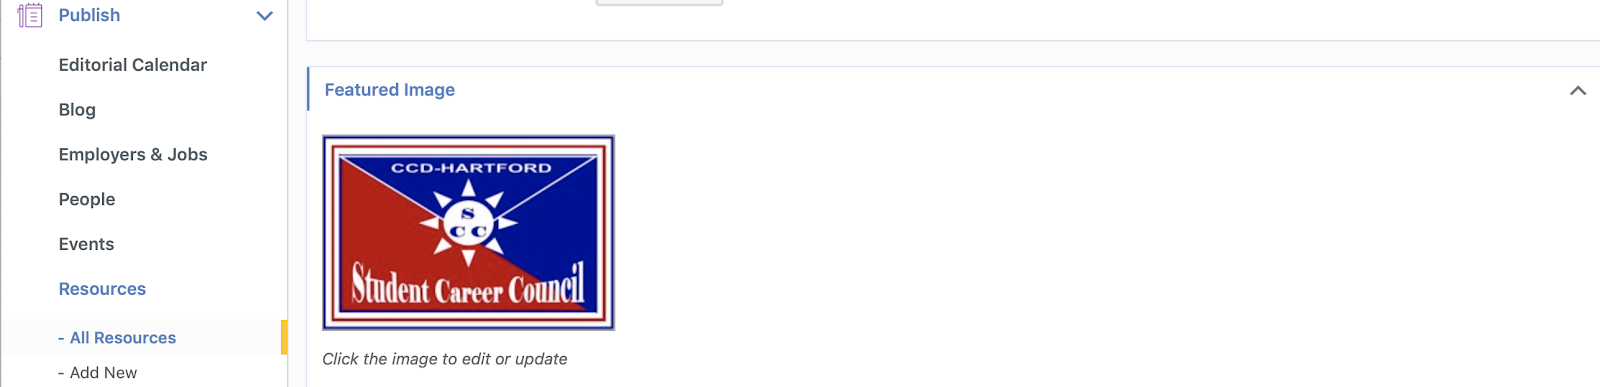
Featured images differ from logos, since they are not an organization’s designated design. Instead, they can be used to brand your resource library and employers/jobs sections. Featured images are also different since they can appear as header images for employers and jobs when you click on “View Open Positions,” or “Learn More.”
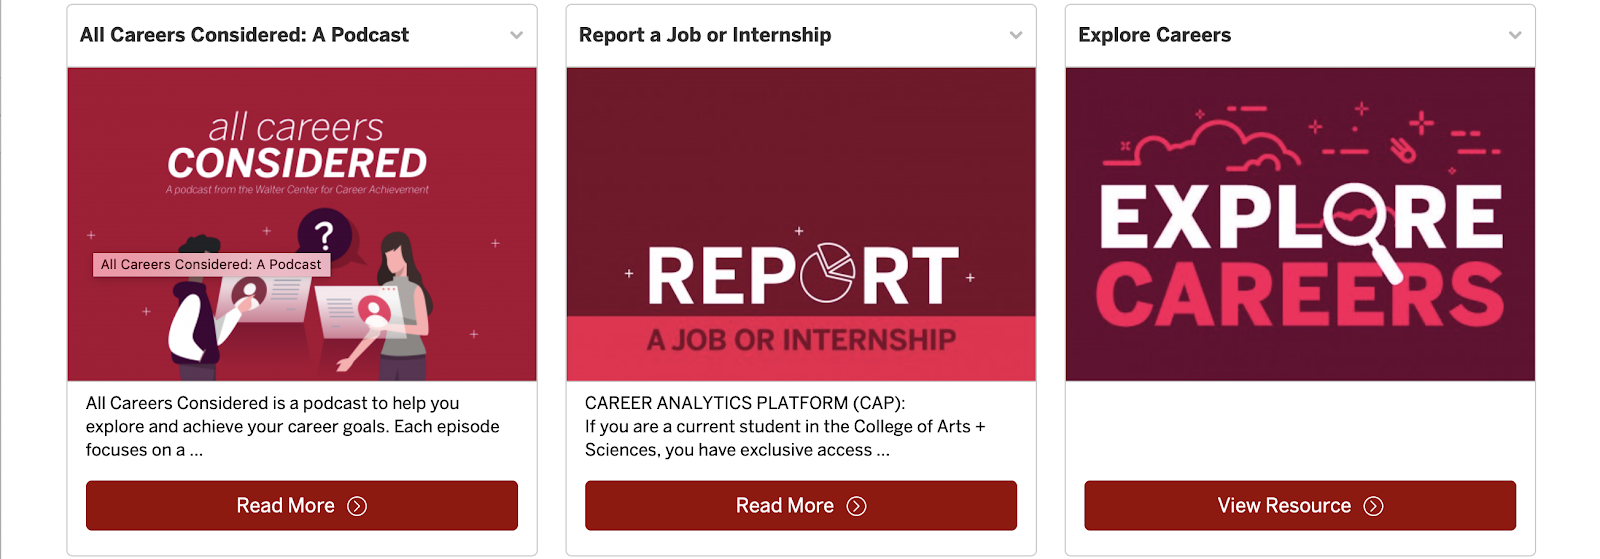
Some common featured images include text, students, laptops, books, or buildings with your college or university’s official color as an overlay, to maintain a similar theme. Below is an example of how Indiana University College of Arts and Sciences has branded their resource library.
To assign a featured image to a resource or job/employer, follow the below steps:
Navigate to the backend of your dashboard, and select “Publish”
Select “Resources,” or “Employers & Jobs,” depending on the content you’re looking to assign a featured image to
Select the specific resource or employer that you want to add a featured image on
In the field titled “Featured Image,” upload an image of choice (the recommended size is 480 x320 px)
Select the green “Update” button at the bottom of the page