Many of our institutional partners have subscriptions to Adobe Creative Cloud, and larger plans include access to Adobe Fonts. During onboarding or as part of a rebrand, you may want to use Adobe Fonts on your uConnect platform. This article walks you through the exact steps for creating a font kit and sharing the embed link with us.
⚠️ Important Licensing Note:
Desktop fonts downloaded from Adobe Fonts cannot be converted for web use. Doing so would violate Adobe’s license and could create legal issues. Instead, the correct way is to create a webfont kit (Typekit embed code) and provide our team with the link. This requires custom Engineering work to implement, but it ensures compliance with Adobe’s licensing.
How-to Video:
Step 1: Find and Open a Font in Adobe Fonts
Go to Adobe Fonts.
Search for and select the font family you want to use (example: FF Basic Gothic).
On the font family’s page, click Add to Web Project.
This opens the Web Project (kit) modal window.
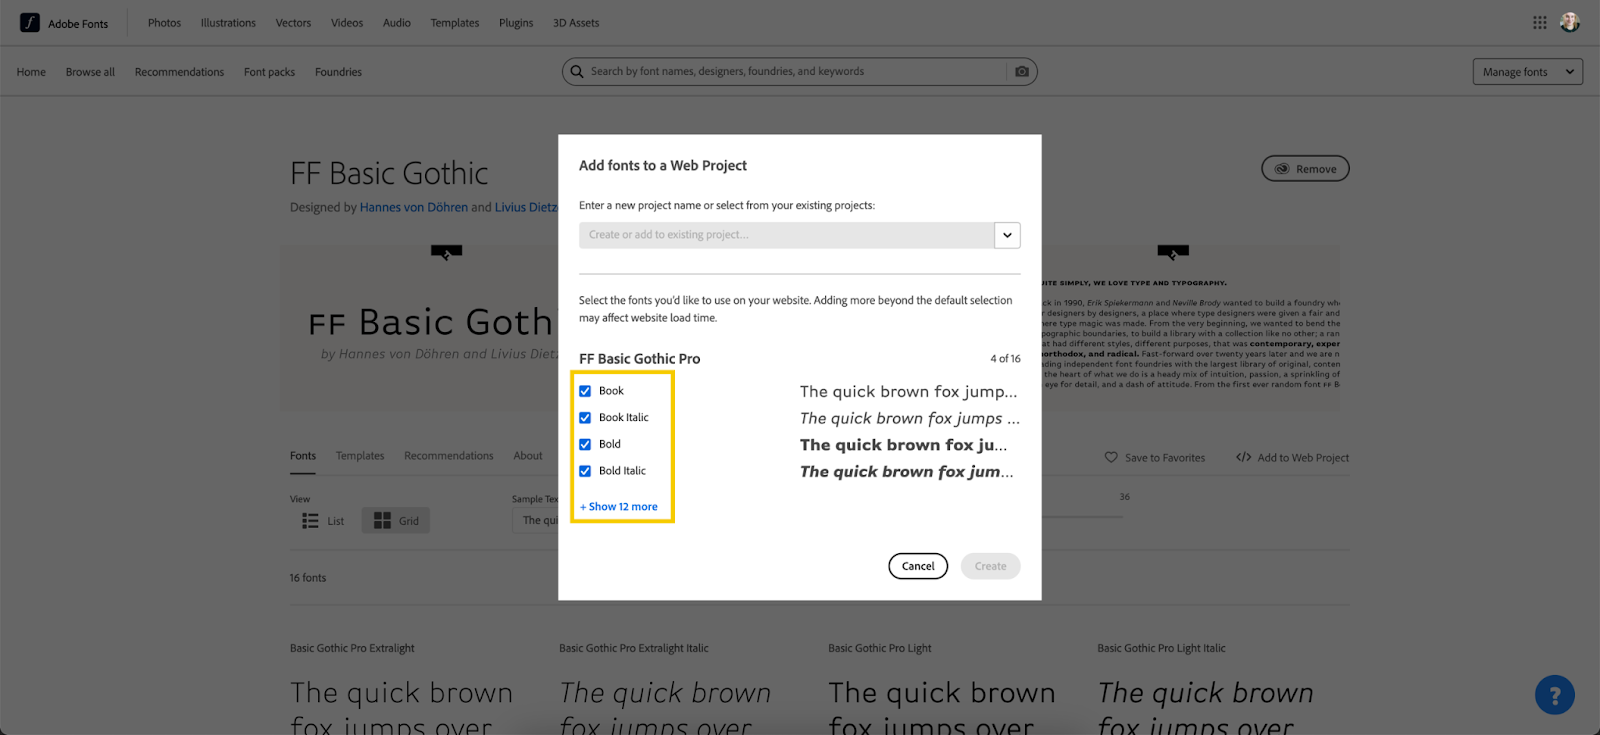
Step 2: Customize Your Font Kit
Inside the modal window:
Adobe pre-selects common font weights/styles (e.g., Regular, Italic, Bold).
Click “Show X more” to expand the full list of available styles.
Add only the weights and styles you need.
⚠️ Performance Tip: The more fonts you include, the slower your site may load. Stick to essentials like:
Regular / Book
Italic
Bold
Demi-Bold or Black (if your brand requires extra emphasis)
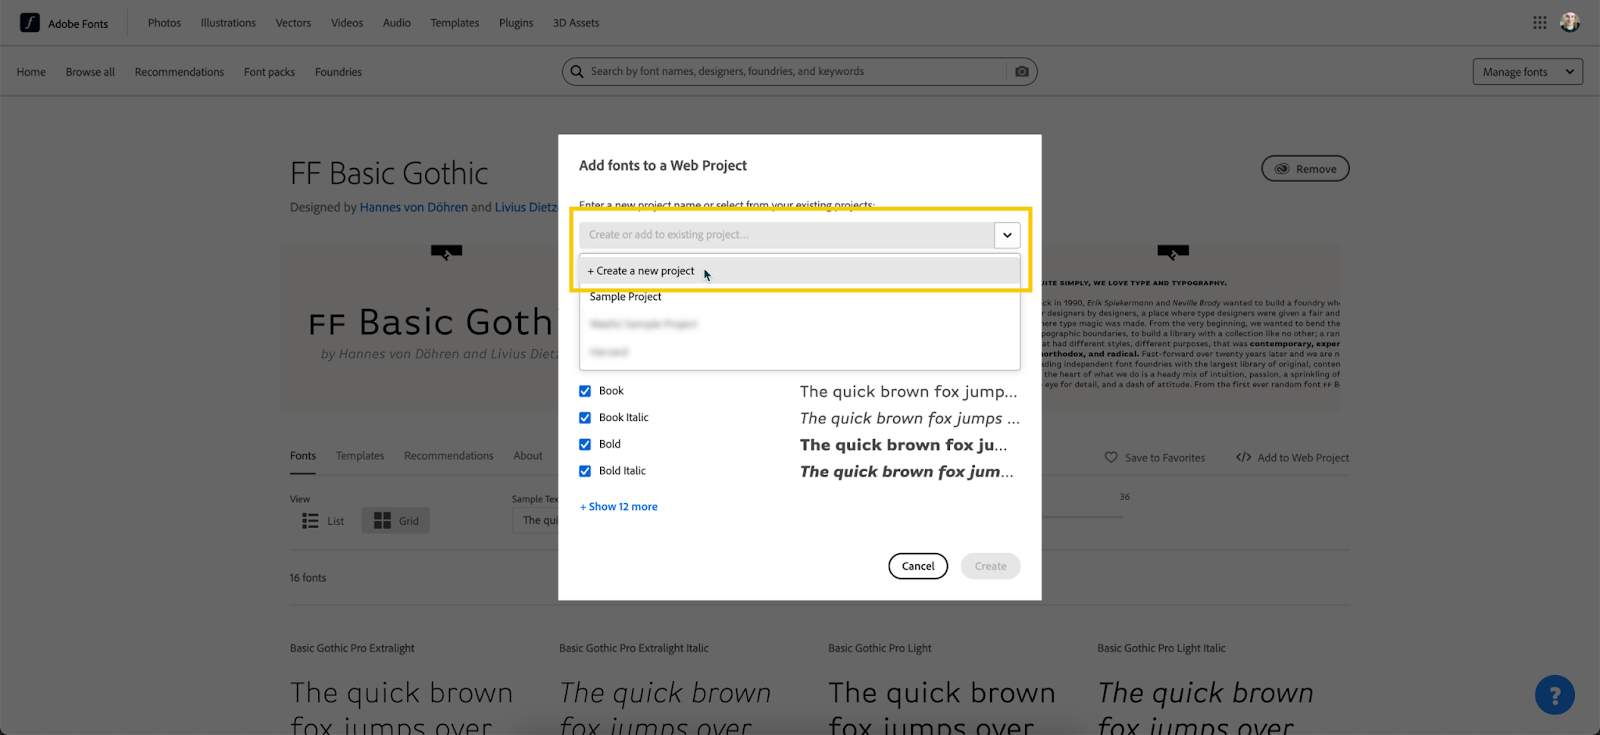
Step 3: Create or Select a Project
When you’re happy with your font selection:
Enter a project name (e.g., uConnect Site Fonts).
Click Create.
Best practice:
Create a dedicated webfont project just for your uConnect platform.
This prevents unexpected additions or removals from other collaborators at your institution.
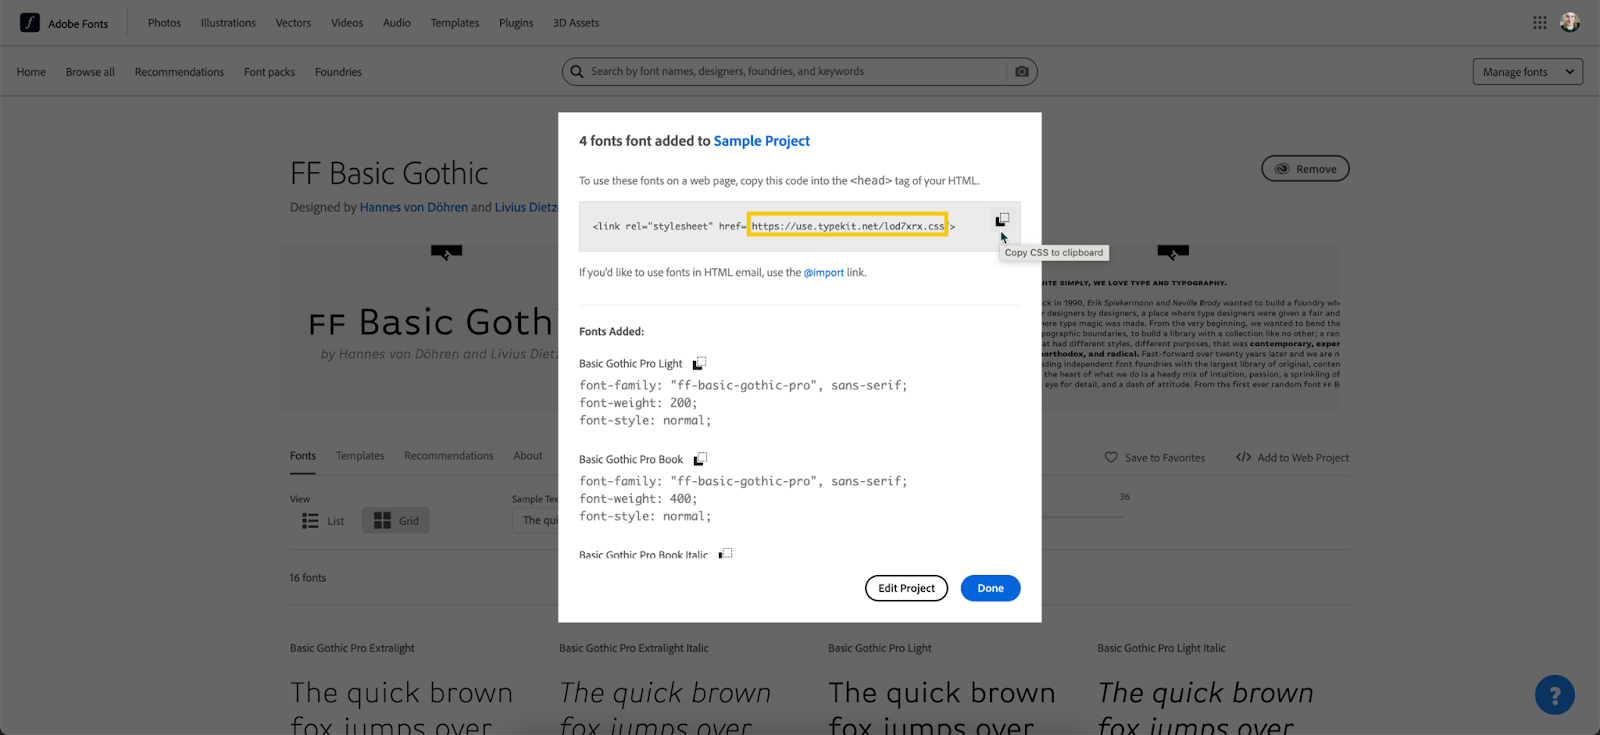
Step 4: Get the Stylesheet Link
After creating your project, Adobe generates a CSS stylesheet link.
Example:
This is the link we’ll use to embed your fonts on your uConnect platform.
Step 5: Share the Link with UConnect Engineering
Open a branding ticket with uConnect Support.
Include the CSS link to your webfont kit.
You don’t need to provide the detailed list of font names and weights — Engineering can pull that directly from the CSS file.
Once received, our Engineering team will handle the implementation and ensure the fonts are available throughout your site theme.
Step 6: Making Updates Later
If you modify your kit, the existing stylesheet link updates automatically. However, uConnect needs to modify your theme to include the names of your custom fonts; just adding them to the stylesheet will not be enough to activate them on your uConnect platform.
If you add/remove fonts or make significant changes, please notify uConnect Support so we can keep your theme consistent.
Conclusion
✅ Following these steps ensures your Adobe Fonts are licensed correctly, optimized for performance, and seamlessly integrated into your uConnect site.