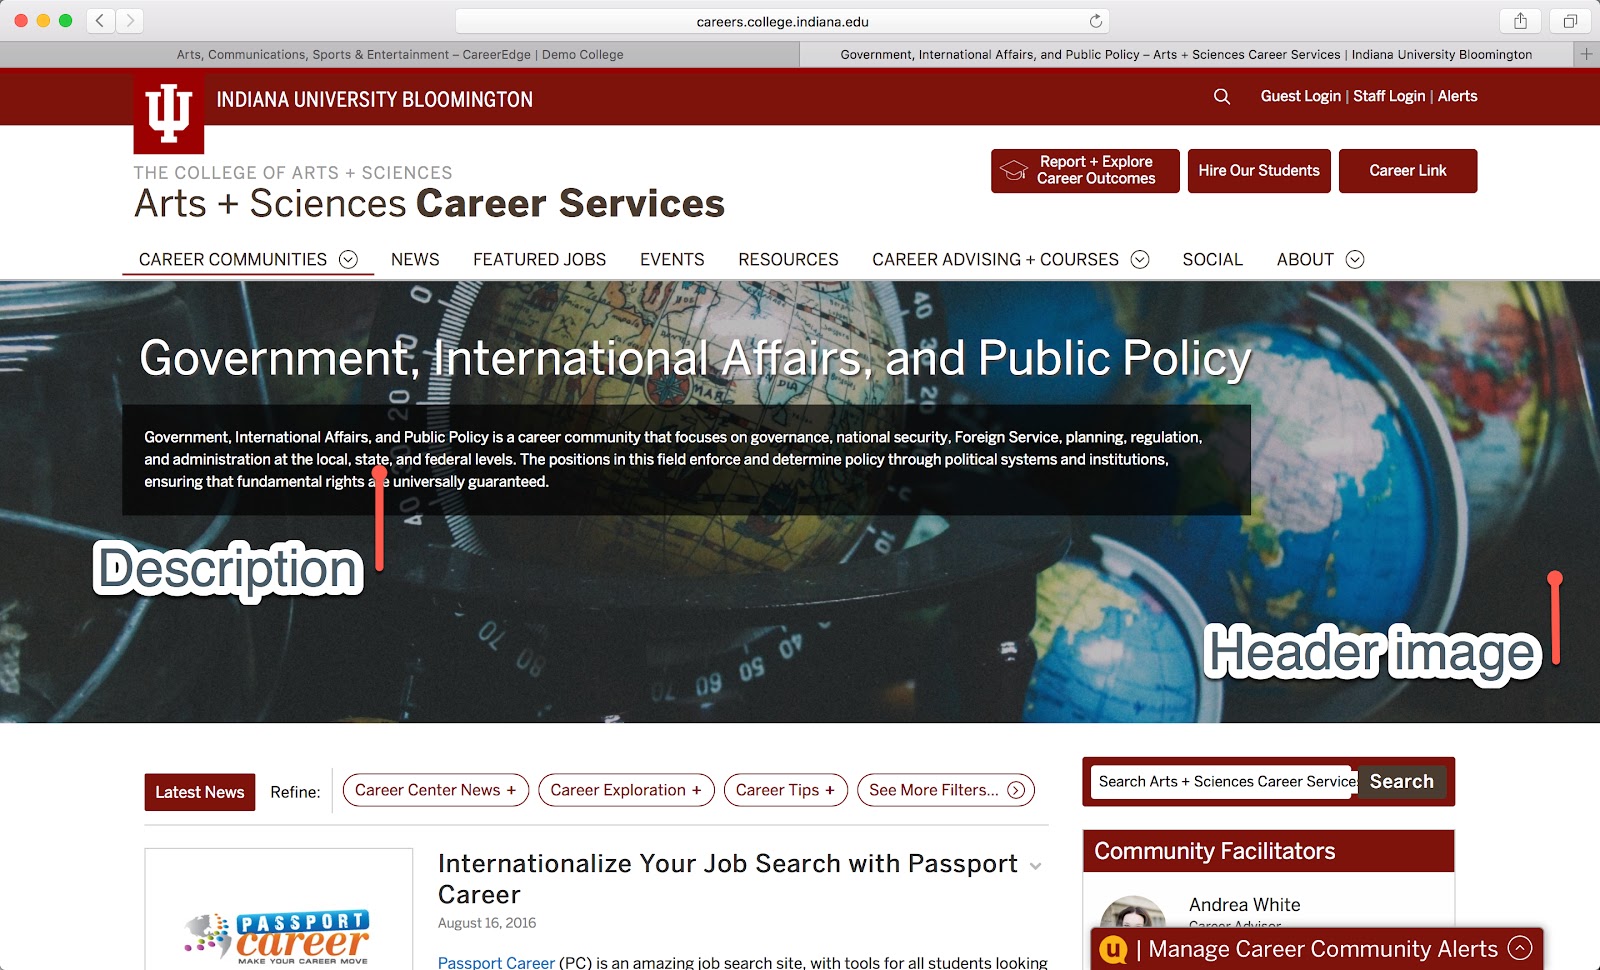
The picture below shows the header image and overlaid description from Indiana University's Government, International Affairs, and Public Policy career community.
You can edit both the description and header image from your admin dashboard to customize the look and content of your communities. You can change where the title and description appear by choosing the layout that works best for your platform.
*Best Practice: Use the Description option to display a short amount of text either on the header image or directly underneath the image. Use the Edit Static Content option to create a more advanced layout that can feature images, accordion blocks, videos, and more. The steps below outline each option to help you determine which layout best suits your content.
Set a header image:
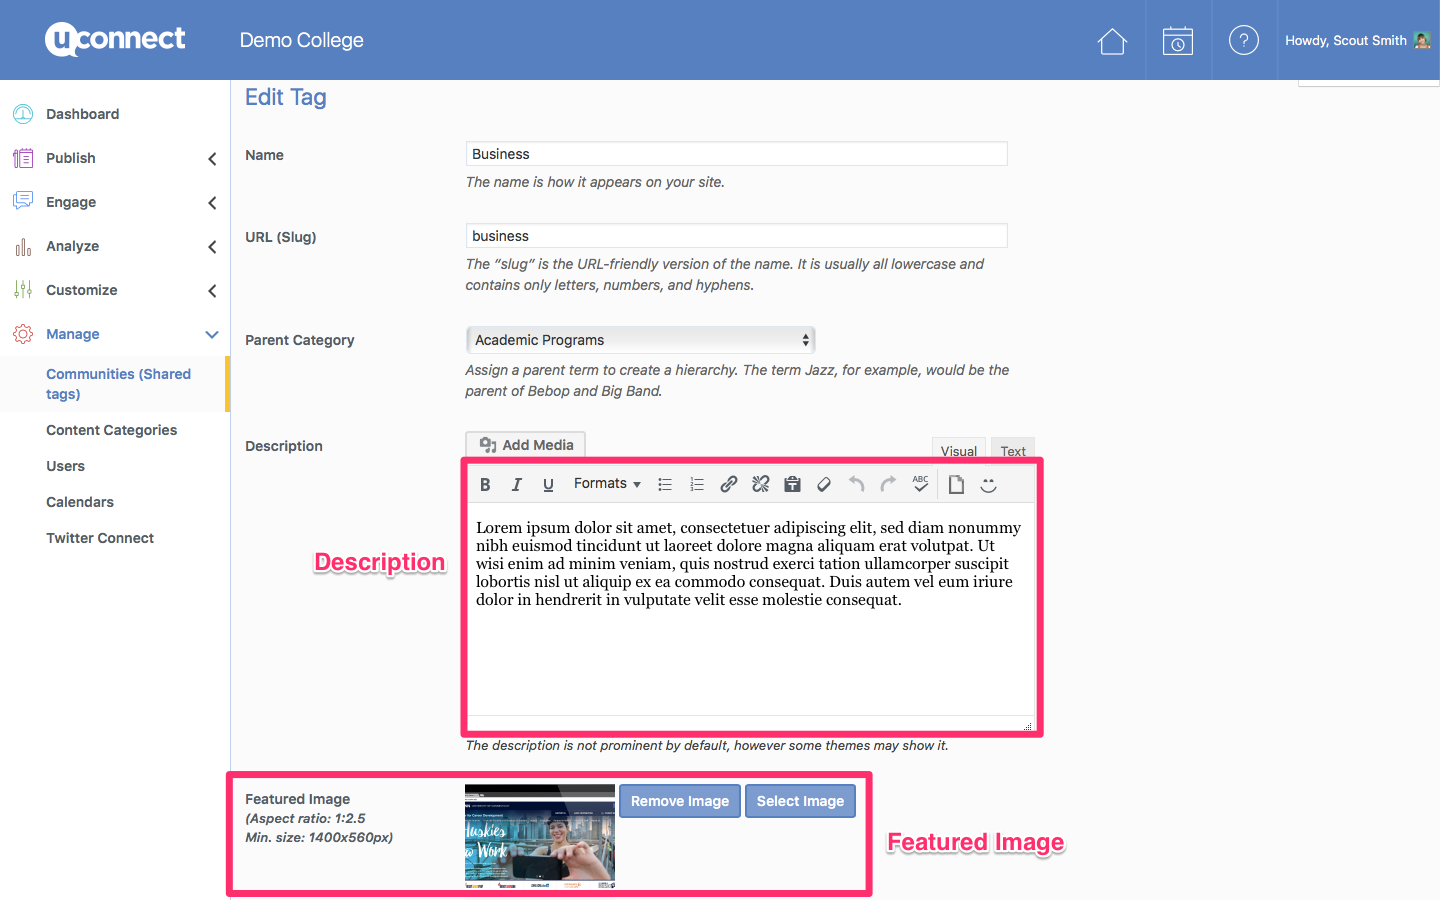
Navigate to Manage > Communities > hover the mouse over the desired community and click Edit
Scroll down and Click Select Image
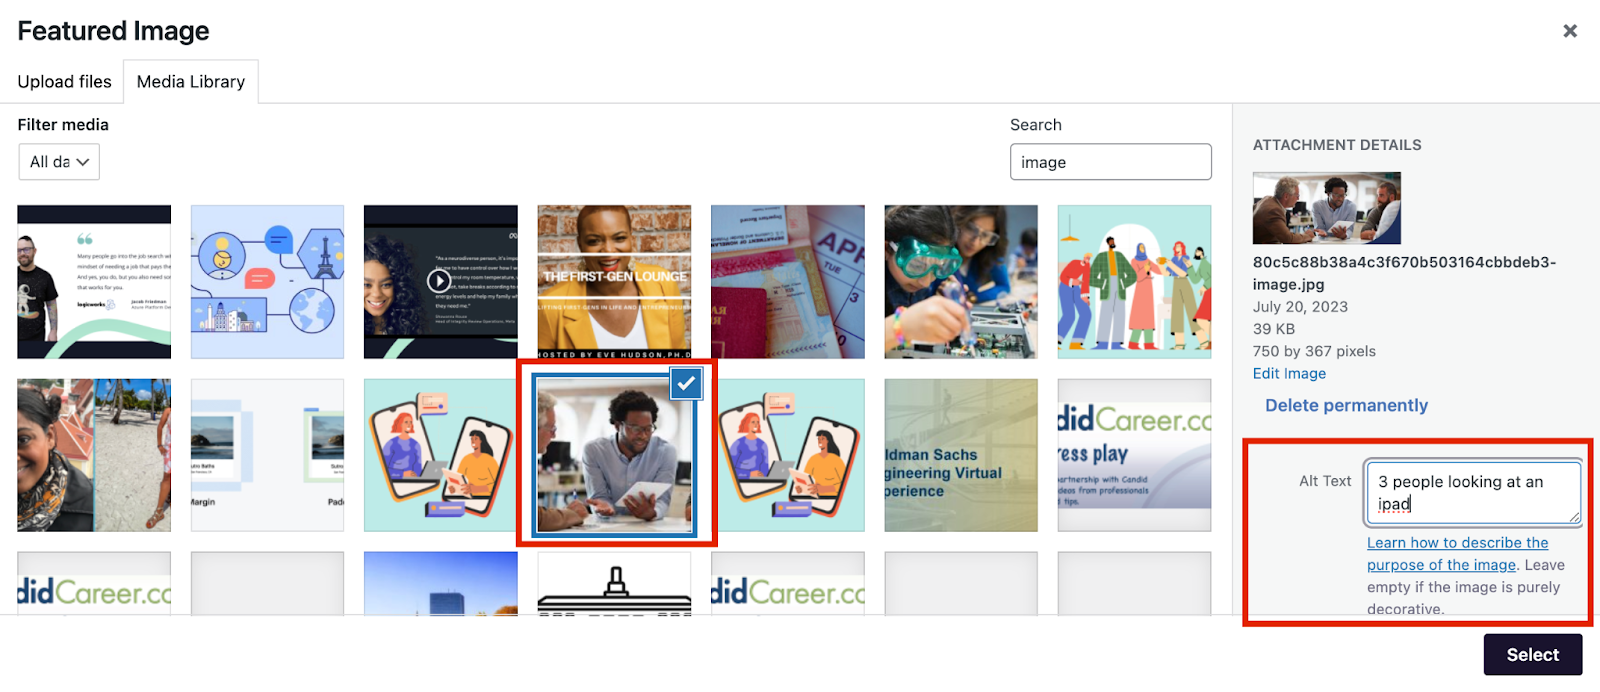
Choose an image from the media library or add a new one by selecting Upload Files and choose one from your computer
Add alt text on the right side when uploading the image
Click Select to save the image
Note: The minimum photo size is 2100x700px with a 3:1 aspect ratio. Verify these requirements in your platform settings, as they may be updated over time.
Add (or edit) a community description:
Navigate to Manage > Communities > hover the mouse over the desired community and click Edit
Type the description in the field marked Description
For a consistent and professional appearance, keep the description length uniform across all your career communities. Aim for around 50 to 60 words per description as a starting point, adjusting based on your platform layout and content needs. 4. Select Update at the bottom of the page to save your changes.
Edit the community layout (placement of title and description):
Navigate to Manage > Communities > hover the mouse over the desired community and click Edit
Scroll down below where you just added a header image and select the layout that you wish to apply
Select Update (bottom of page)
Add (or edit) a community description using the block editor for a more advanced visual layout:
The space below the header image is important to let users know what content they will find in that community. It should provide a short description of the community, and can also be used to display important information relevant to that community. If you prefer to have more content in this space than a general text description, using the block editor to edit static content will be your best option.
Here is an example from uConnect’s demo site showing text and accordion blocks built with the block editor, with the second image showing an accordion block expanded to view the full text. Accordion blocks can be used to display text, while reducing scrolling at the same time.
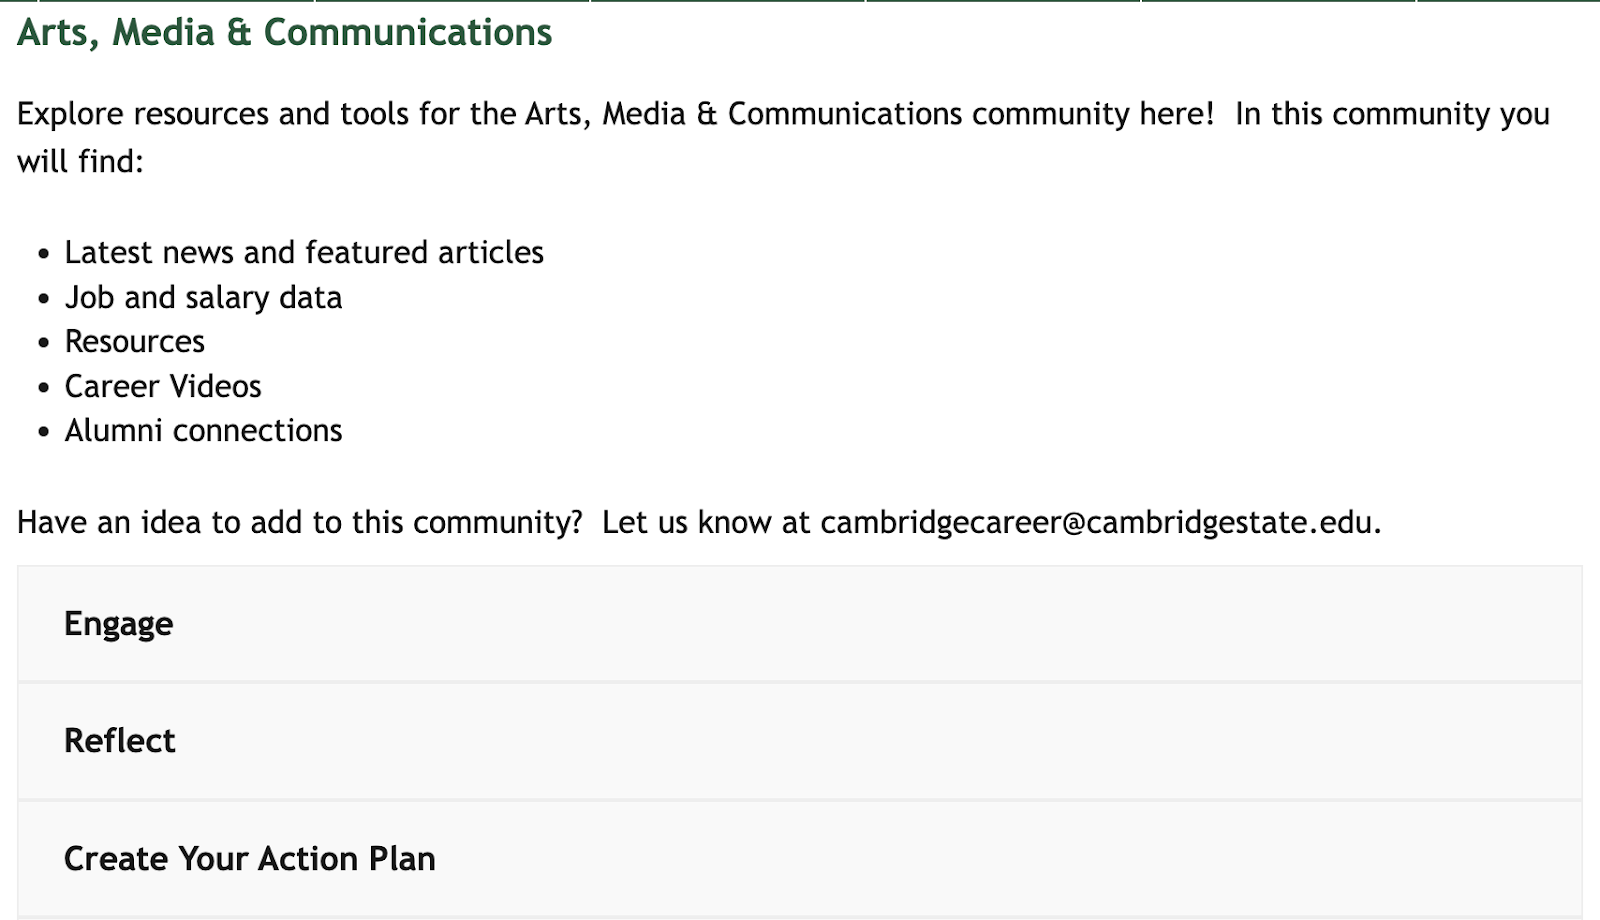
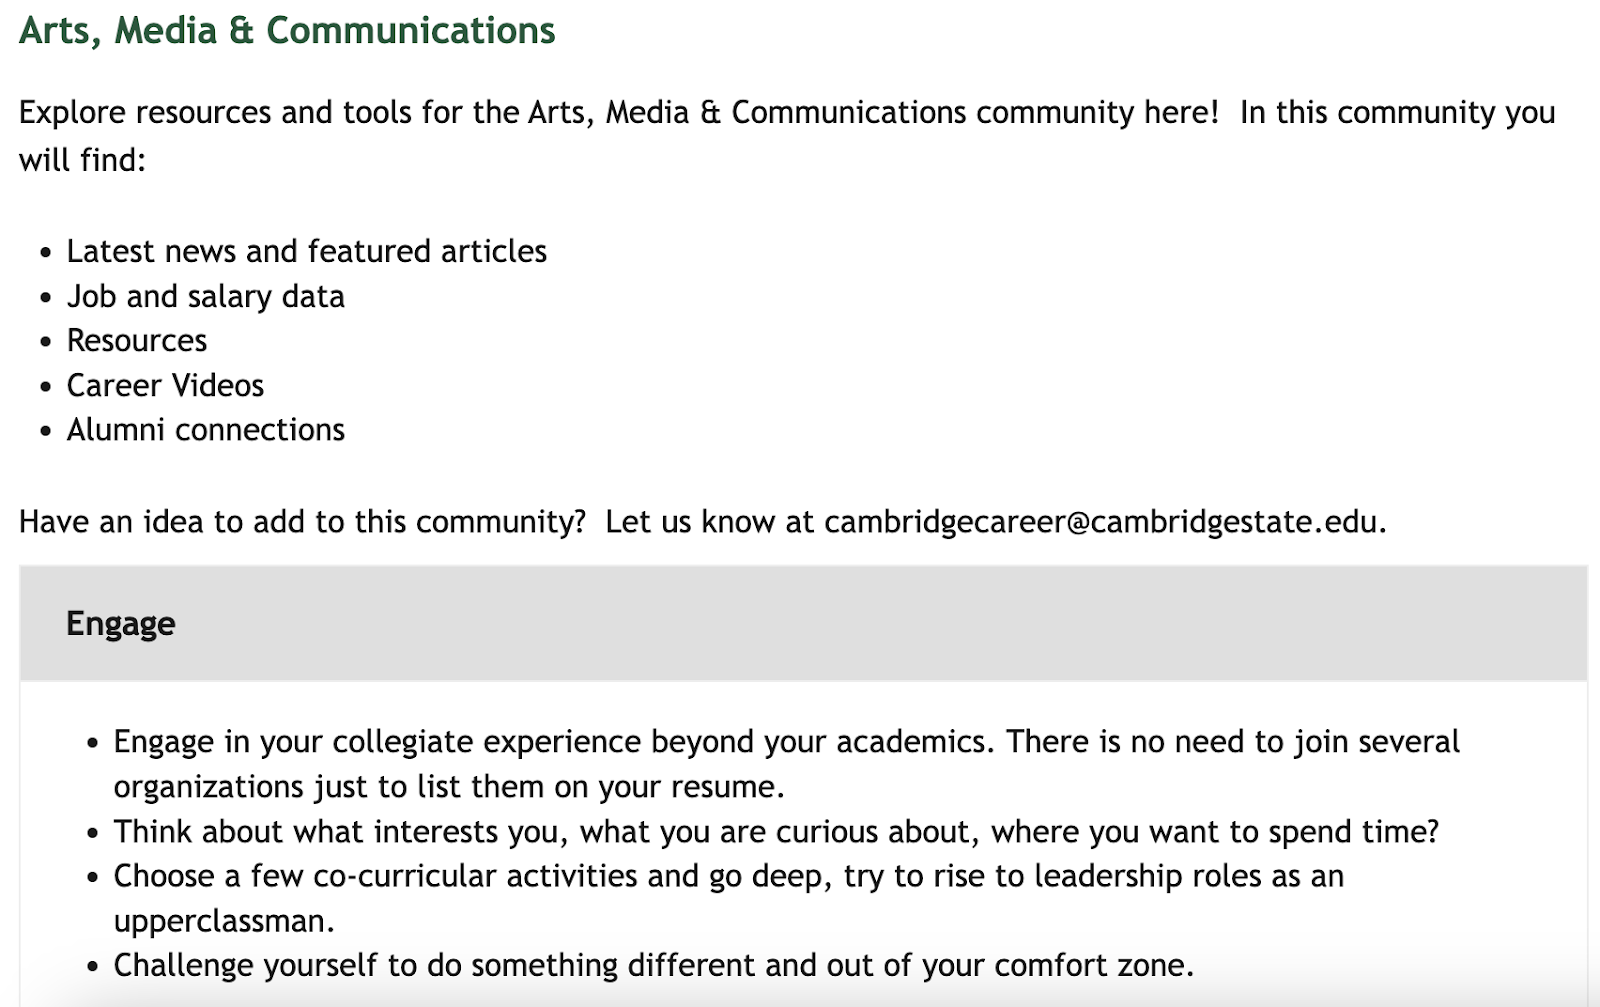
Follow these steps to add static content in addition to basic text in this area of your community:
While in the community scroll down below the header/description layout and select ‘Edit Static Content’.
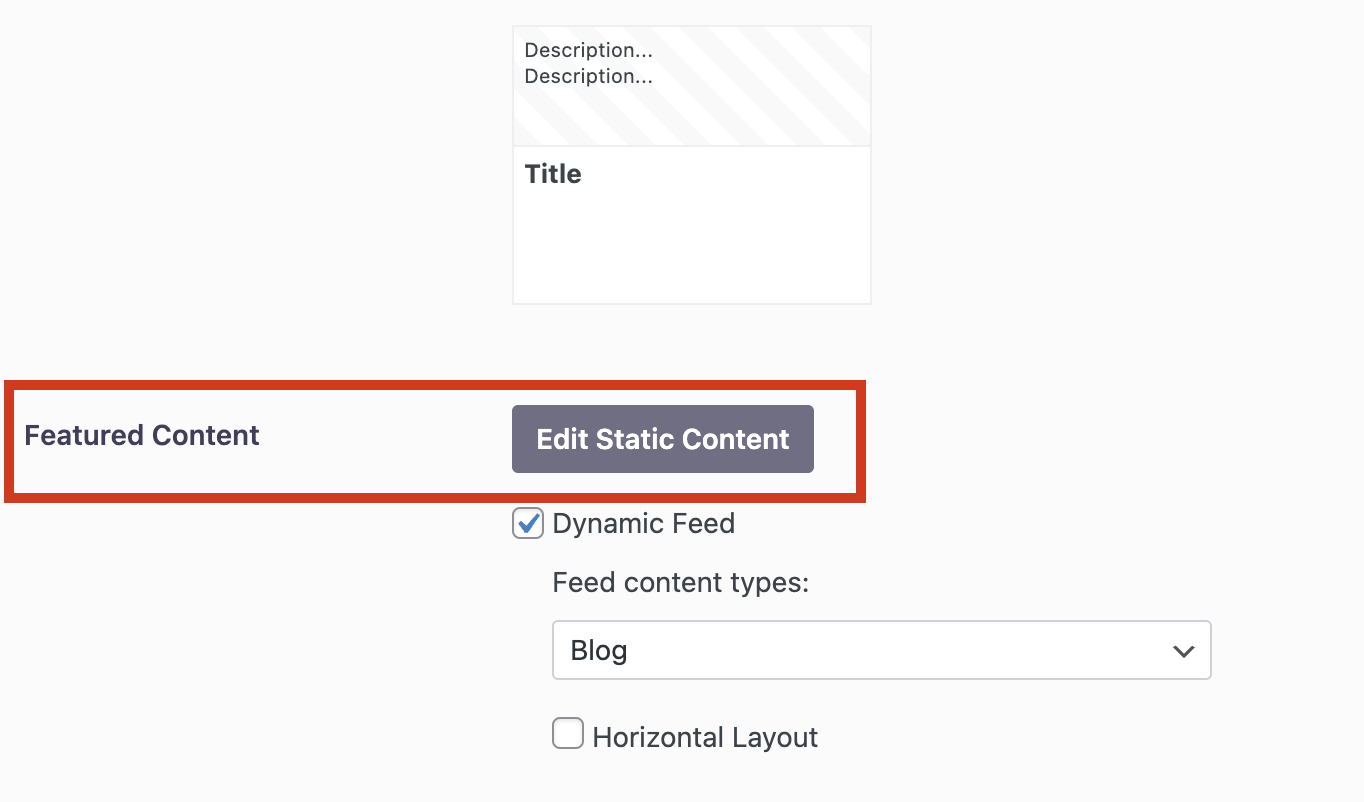
From there you will be directed to the block editor where you can add blocks to build your layout.
Block editor resources
Video: Manage Communities
Recorded Session: Block Editor Beginner Basics
Self Paced Training Academy: Block Editor Beginner Basics