
To add resources to an organization's page, tag the resource with your organization under **Tags and Categories** in the resource editor. This lets you tailor content to students with shared interests, increasing engagement and giving students all the resources they need to succeed. Once tagged, students can browse, search, and filter to find the content they need.
Step 1
Create the resource. If you need a refresher on how to add resources, refer to this article.
Step 2
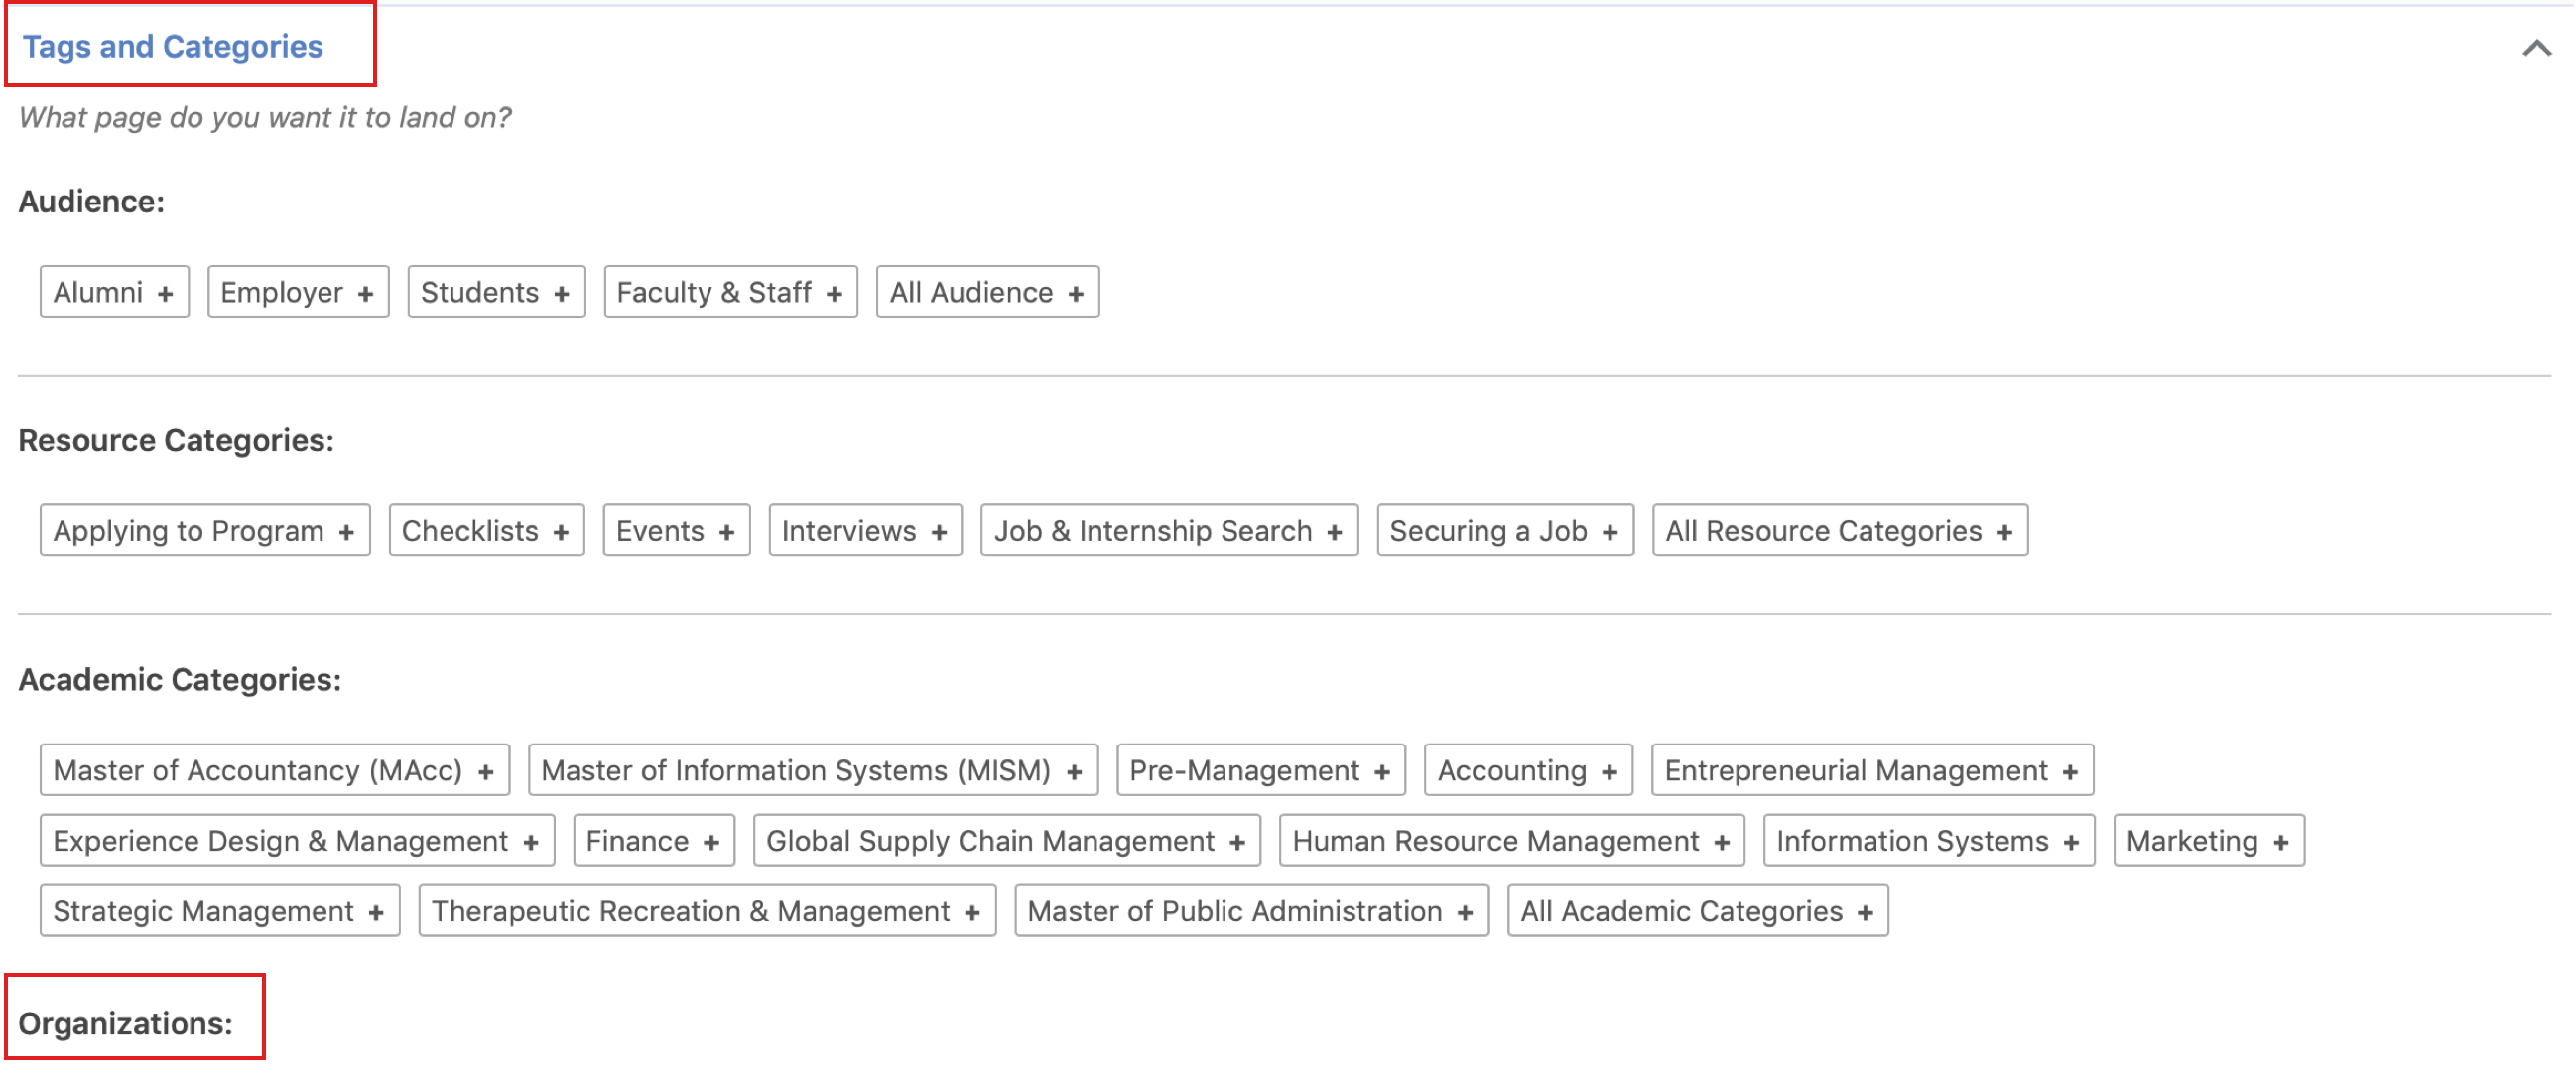
While adding the resource, scroll down to Tags and Categories and tag your organization under Organizations, as highlighted below. Tagging your organization ensures that the resource appears only on your organization's page and not across all organizations on the platform.
Step 3
If the resource already exists, navigate to the Resources section of your dashboard and search for it, then click Edit. Follow Step 2 to tag your organization.

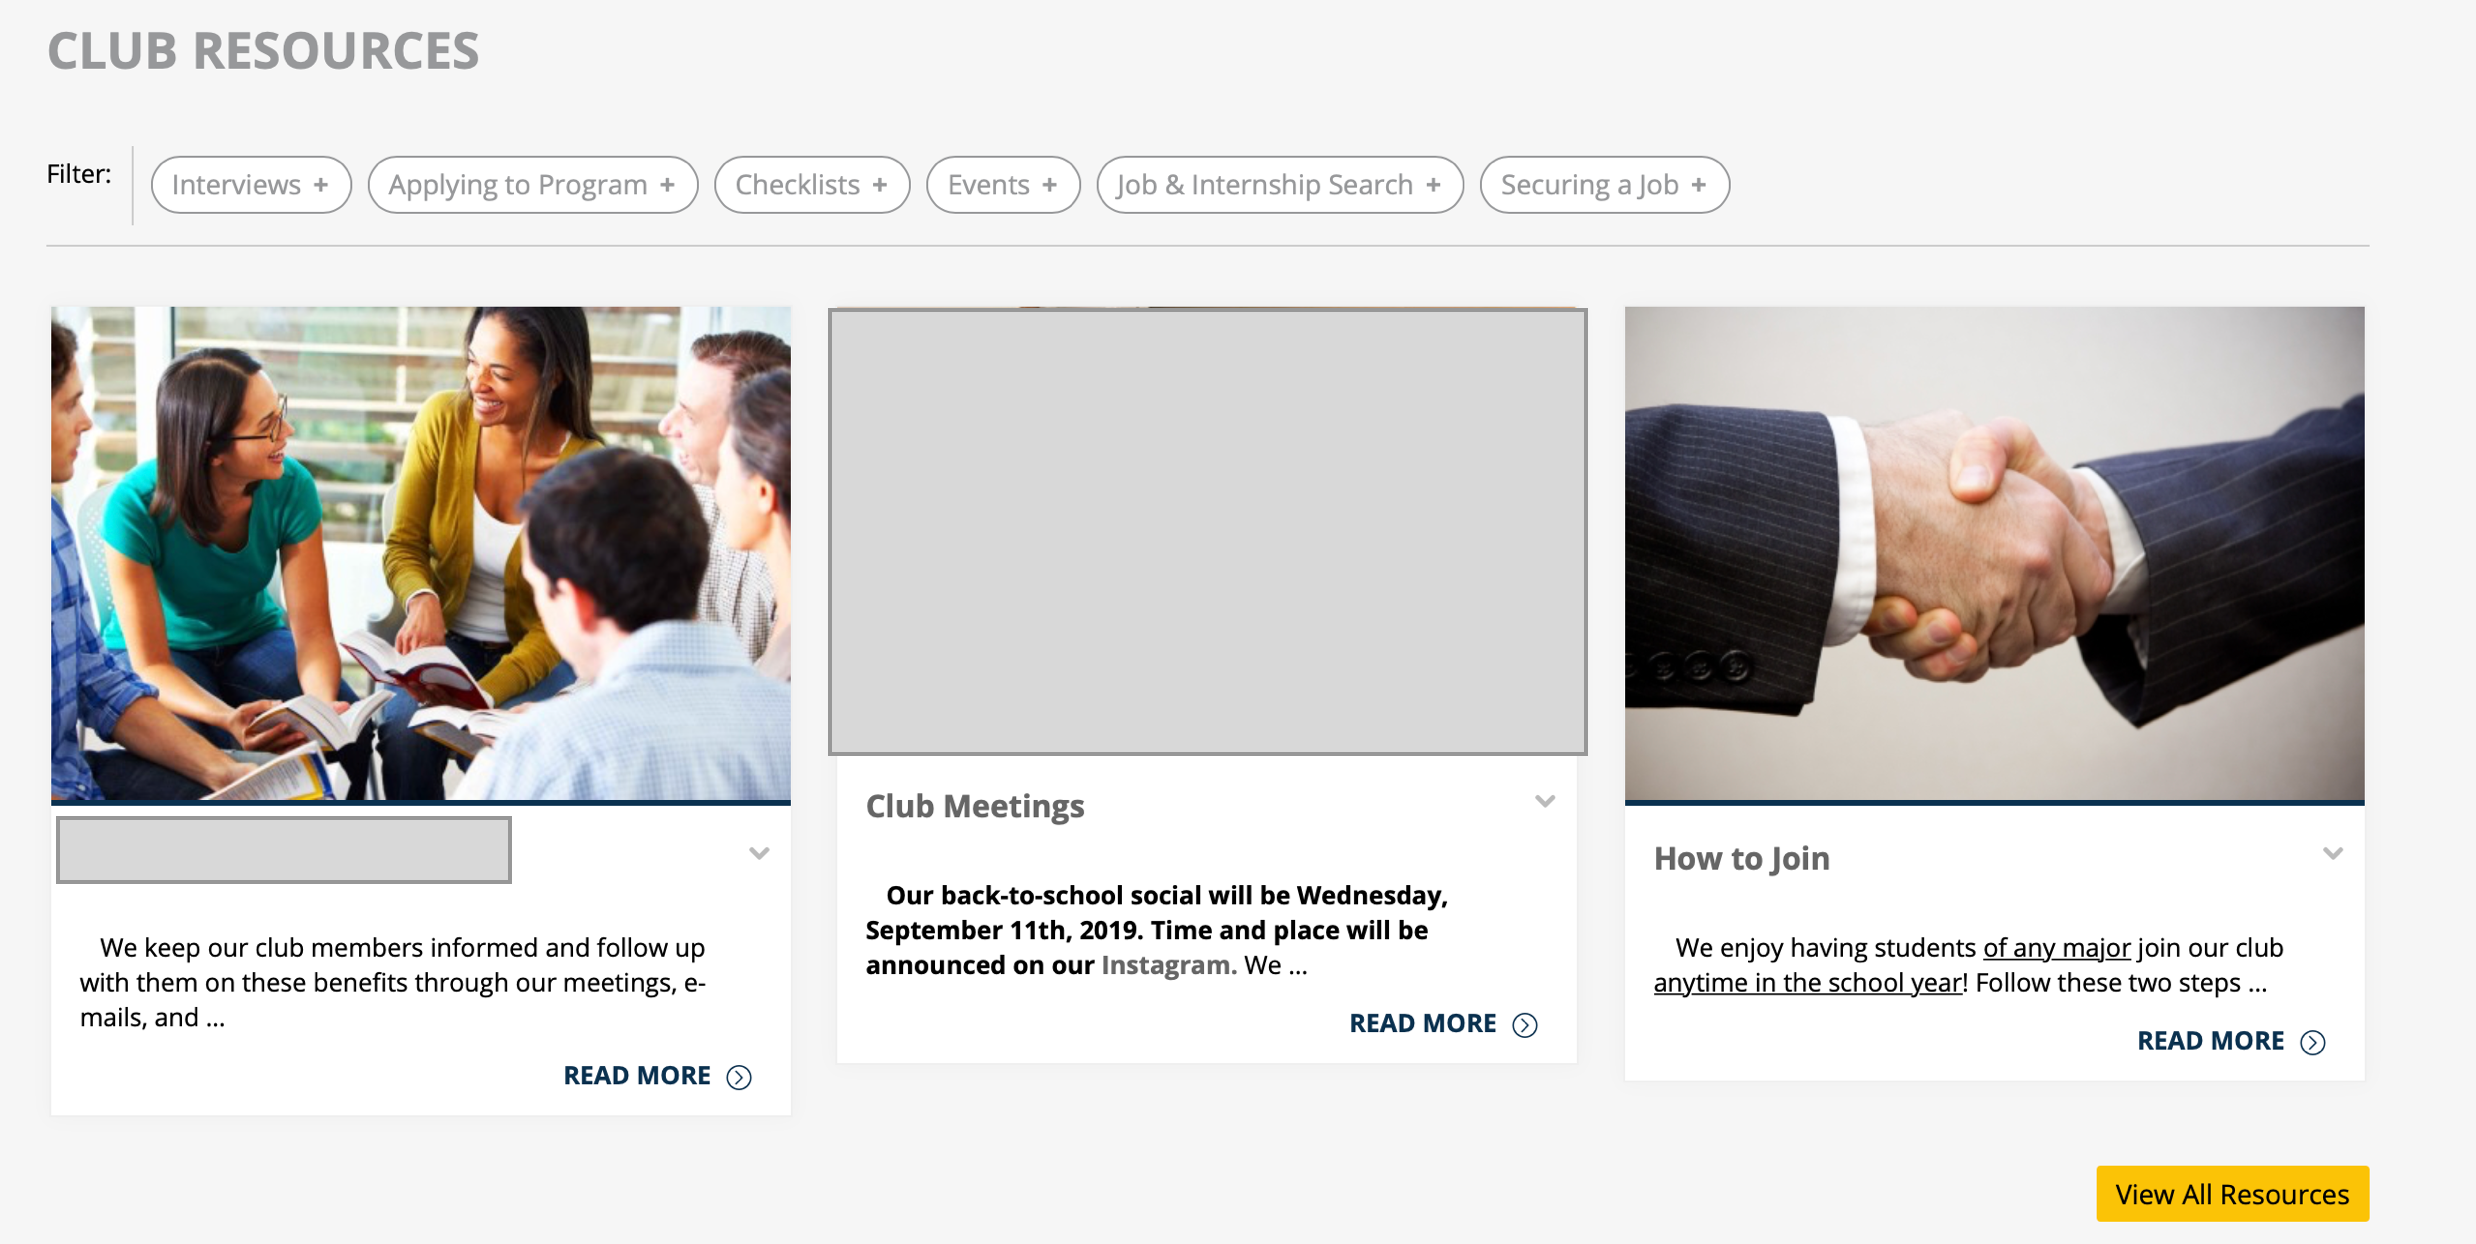
The resource is now tagged and will appear on your organization's page. Here is how it will look:
If resources don't appear on your organization's page within a few minutes, submit a support request. A member of the support team will follow up with you via email.