Having all your career-related events in one central location is important to making your career services website the central hub for students to find career information.
There are two ways to add events: (1) manually add them using the dashboard event builder, or (2) pull events from your Career Management System (CSM) such as Handshake, Symplicity, or 12Twenty into the dashboard and then publish them. We'll first look at how to add them manually.
Add an event manually:
-
Under the Publish tab in the left-hand side menu, hover over Events and select Add New Event.
-
Fill in the details of the event, such as the event title, start and end date, location, and a "learn more" URL, if applicable.
-
Next, indicate whether you'd like to collect RSVP's internally or externally.
The internal RSVP setting allows you to collect RSVP's from within the uConnect site. When a site visitor views an event, they will have the option to RSVP right from within the event page. The internal RSVP setting also enables the option of sending of two emails to attendees: (1) a confirmation email, sent immediately after they RSVP, and (2) a reminder email sent 24 hours before the event. Additionally, Internal RSVP setting allows you to display the names of attendees right on the event page. You can determine whether or not you want to activate confirmation and re minder emails and whether you want to display attendees names only after clicking "Internal RSVP." Data on internal RSVPs is viewable in the dashboard.
The external RSVP setting allows you to include a URL to collect RSVPs through an alternate system, such as your CSM (e.g., Symplicity), LinkedIn, or another website, such as EventBrite. The external RSVP setting gives you the option of displaying a button with unique text that links to RSVP site. This optional button setting appears only after clicking "External RSVP." Either the internal or external setting may be used; both cannot be used simultaneously.
This article explains internal and external RSVPs in more depth.
Next, Add the event description. Enhance the description using media such as images, gifs and emojis.
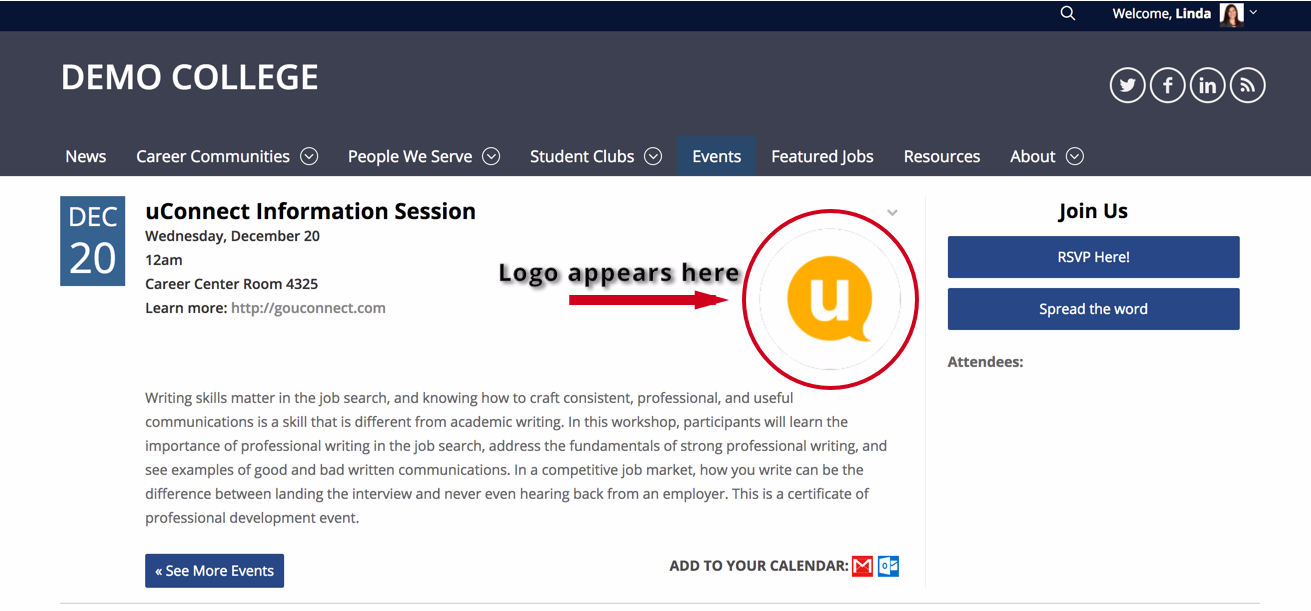
Showcase your event by adding a featured image and a logo.
Enter in contact information.
Tag your event accordingly. Remember that correctly tagging will ensure that users receive emails with the corresponding content to their alerts.
Preview, select to share on social channels and click Publish when ready.
Pull events from your Career Management System:
We currently have integrations with Handshake, 12Twenty, and Symplicity and we manage all of the settings for the integrations in uConnect on your behalf - you cannot access them with the help of our support team.
For this, your CMS system already needs to be integrated into your dashboard by the uConnect team. As long as we form the integration, we can pull in events from any calendar on campus. Until your CMS integration is complete, you will need to manually create events. If you have questions, please reach out to our Support Team about the status of your CMS integration.
Once an integration is set up with your CMS, events that are added in the CMS will be pulled automatically into the uConnect dashboard every 24 hours.
Depending on your integration settings, your events can be auto-published, so as soon as they are imported in to uConnect, they are published and you do not need to approve each one. If we did not enable auto-publishing for your integration, you can monitor the events entering your Pending Events list, add any necessary or missing media, and take the final step of publishing them.
Access and publish events pulled from your CMS:
-
Under the Publish tab in the left-hand side menu of your dashboard, hover over Events and select Pending Events
-
Review the list of pending events that have been imported from your CSM system and select the one you would like to post
-
Review the information that was imported from your CSM system and make any necessary changes.
-
Tag your event accordingly (remember that correctly tagging will ensure that users receive emails with the corresponding content to their alerts)
-
Preview, select to share on social channels and click Publish when ready